This is going to be one of the most random posts I have ever made. But writing about painting rocks seems far better than the reality of what is happening in our world. So, allow me a few minutes of fun and a chance to tell you about my new hobby.
The HOW? WHY? WHERE? WHAT?
During the Covid-19 Pandemic – when we were all “housebound” and staying miles away from each other, I discovered a group on Facebook – San Pedro Rocks. Apparently, this large-ish group of people were making a sport of hiding rocks around various fun locations in San Pedro, California. Especially near the waterfront, marina, and parks. It was a way to get fresh air without being around people who weren’t in your “safe pod”.
And as fate would have it, I found a few rocks just by happenstance – but didn’t pay much attention to the “sport” of rock painting and hiding.
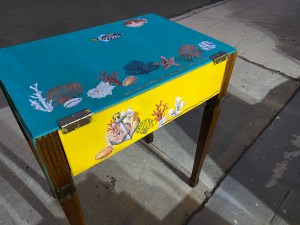
Then one day I discovered I had some spare paint and a few flat rocks in my garden. What the heck! I had leftover transfers from my DIY furniture and some paint – I could make a few rocks! After more than a couple of tries (it is an art form, after all), I then hid them among some bushes in the “key areas” listed on the Facebook page and waited to see if anyone posted that they found them. And they did! Instant gratification that my rocks were now “Facebook page worthy!”
So, I decided to create a few more painted rocks – and then more and then more! And, as long as I was decorating rocks I might as well look for more myself. This time with purpose! And I did. And I found quite a few. I only kept the one pictured here (the fish) because it was too cute to hide again! (By the way, the rules of the club are that you keep it or hide it again- your choice!)

You may ask, Are there any substantial benefits to joining a rock club? Yes, there are!
For starters, looking for and hiding rocks gave me a reason to get out of my house, socialize, and walk a bunch of steps! I have met some very nice people along the way. I also was able to use my brain for something new – and that was refreshing!
And I learned that every rock I found seemed to tell a story. There are rocks made by the little kids in the neighborhood who want to participate alongside their parents and grandparents. They add cute stickers and make lots of rainbows! And then there are the retirees who love it when people find their rocks- they take this endeavor very seriously! A few people are actual “artists” and their designs are AMAZING!
And just in case you think this is a local fad – check out the over three thousand reviews of this SINGLE ROCK PAINTING project kit!
Here are some of the designs I created (again using paint and some transfers). I hope that if you have any rock painting tips you will throw them in the comments.
And, as always I wish you the very best. Plus, this week I am adding – may there be peace – worldwide.